One of the most sensitive parts of your dog’s body is his ears. Your dog’s ears are prone to the buildup of ear wax and dirt that can result in ear infections if you don’t clean them.
Additionally, dogs can get ear mites, which result in almost constant irritation in their ear canals and outer ear. Some dogs have naturally clean, healthy ears, and these pups might not ever need to have an ear cleaning.
But other dogs, such as Basset Hounds and Cocker Spaniels, have floppy ear flaps that hang down, and these pooches are at a higher risk of ear infections.
As a loving pet parent, you’ll want to check your dog’s ears regularly for signs they need to be cleaned. But what should you do if they are growing a few potatoes in those ears? We’ve put together some information on how to clean dog ears to prevent infections and other problems.
How Do You Know Your Dog’s Ears Need Cleaning?
The first step in the process is to determine whether or not you need to clean your dog’s ears. Over-cleaning your dog’s ears isn’t a good thing either, so you should only undertake ear cleanings when it’s necessary.
Healthy dog ears are pink, odorless, and don’t appear dirty or inflamed. The ear should not smell of yeast or any other foul odor. You should only clean a dog’s ears when you see a change in the ear’s healthy appearance. You might also see your dog shaking his head vigorously, and this can indicate it’s time for an ear cleaning.
It’s also important to keep your dog’s ear canal dry and well-ventilated, so if your dog is one that likes to swim frequently, you might consider using a topical astringent to help dry out the ear canal.
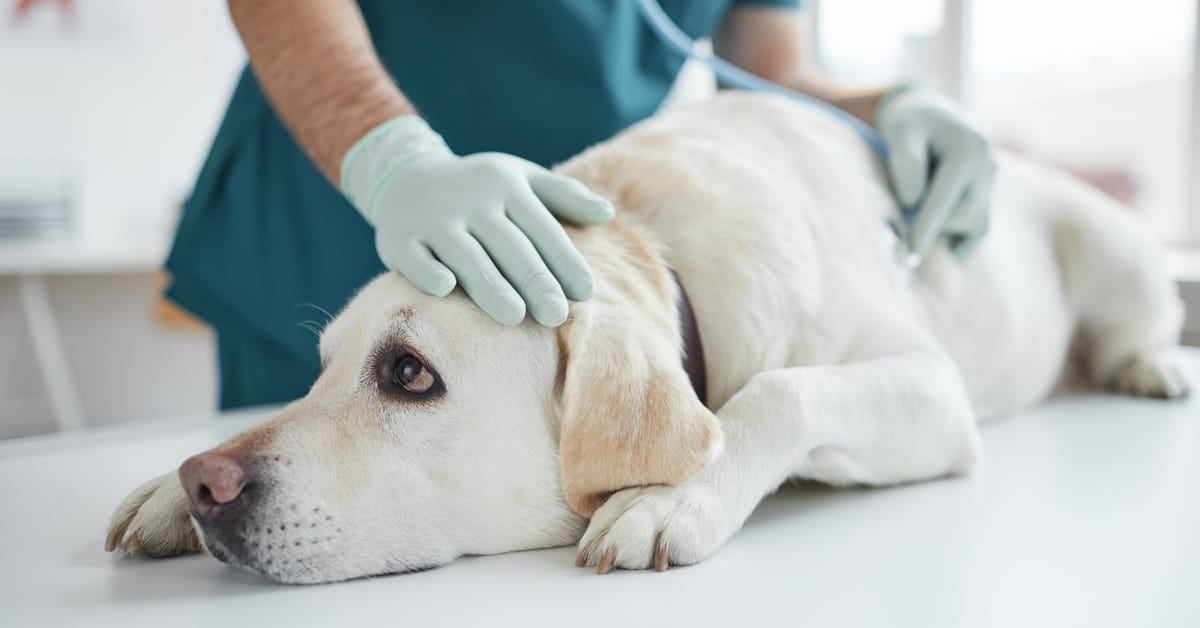
If you notice that the ears are inflamed or smell yeasty, that could mean your dog has an ear infection or other ear problems like fleas, allergies, or ear mites. Those conditions all require medical attention, so you should take your furry friend to your favorite DVM if you notice these symptoms. It’s important to know that cleaning an infected ear can cause more problems than it solves.
If the ear is just dirty, then you can undertake the cleaning of your pup’s ears. Before you do that, you’ll want to assemble the supplies you’ll need.
What Dog Ear Cleaning Supplies Do You Need?
Before you begin to clean those dirty ears, it’s important to assemble all the necessary supplies. Luckily, it doesn’t take much to clean your dog’s ears. Basically, you’ll need a cotton ball (or some gauze), some time of ear cleaning solution, and a towel.
You can get ear cleanser from your veterinarian’s office. There are, of course, many homemade ear-cleaning solutions you can find on the internet, but these might contain harmful ingredients, or they might not work. It’s better to stick with something your vet has approved.
Just a note here — you should never use hydrogen peroxide to clean your dog’s ears. It can cause irritation to healthy cells and damage the ear structures.
Another thing you don’t want to do is stick a cotton-tipped applicator like a Q-tip or other kind of cotton swab in your dog’s ears. These can actually work to push more dirt into the ear canal, cause infections, and even traumatize sensitive inner ear structures like the eardrum.
Once you have your ear cleaner, cotton balls, and a towel, you’ll then want to choose the room where you’ll clean your dog’s ears. I would recommend using the bathroom or some other room you can clean easily. Dog ear cleaning can get messy when your dog shakes his head vigorously during the cleaning.
The last supply you will need to have is plenty of dog treats so that you can reward your dog for being well-behaved during the procedure.
Ear Cleaning Step-by-Step Procedure
The first step is to get comfortable on the floor with your dog sitting in front of you. It’s better if you have his rear end positioned between your legs. If you have a large dog breed, you might position him with his rear end in the corner while you stand on his other side.
Be sure you have all your supplies close at hand, and begin with the cleaning according to the following steps recommended by VCA animal hospital:
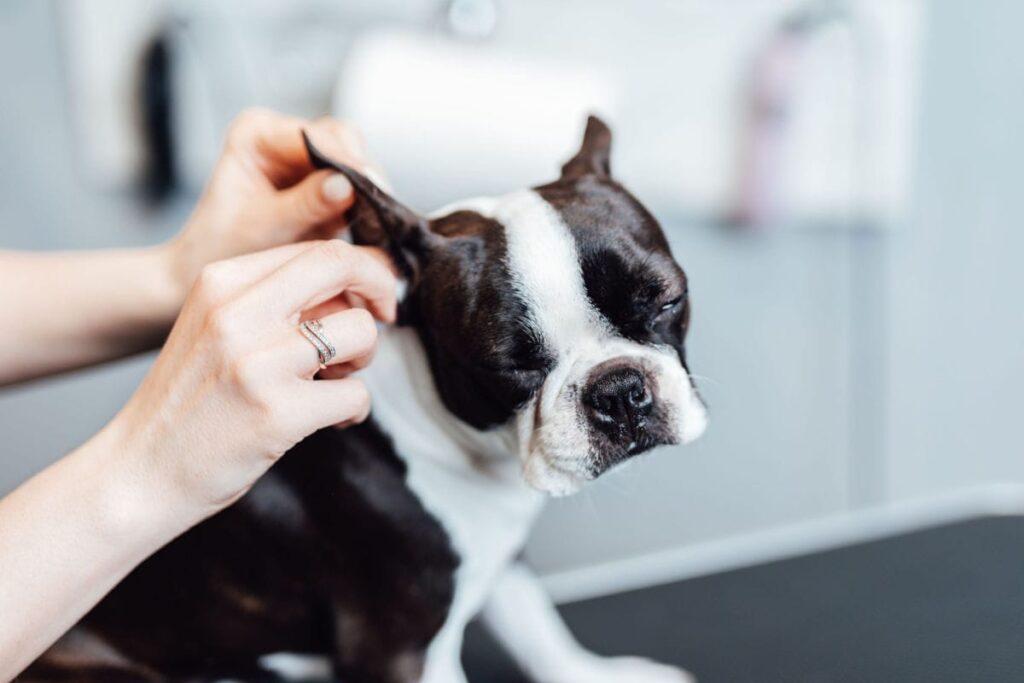
- Grasp the ear flap of one of his ears and hold it up vertically so that the ear canal is straightened.
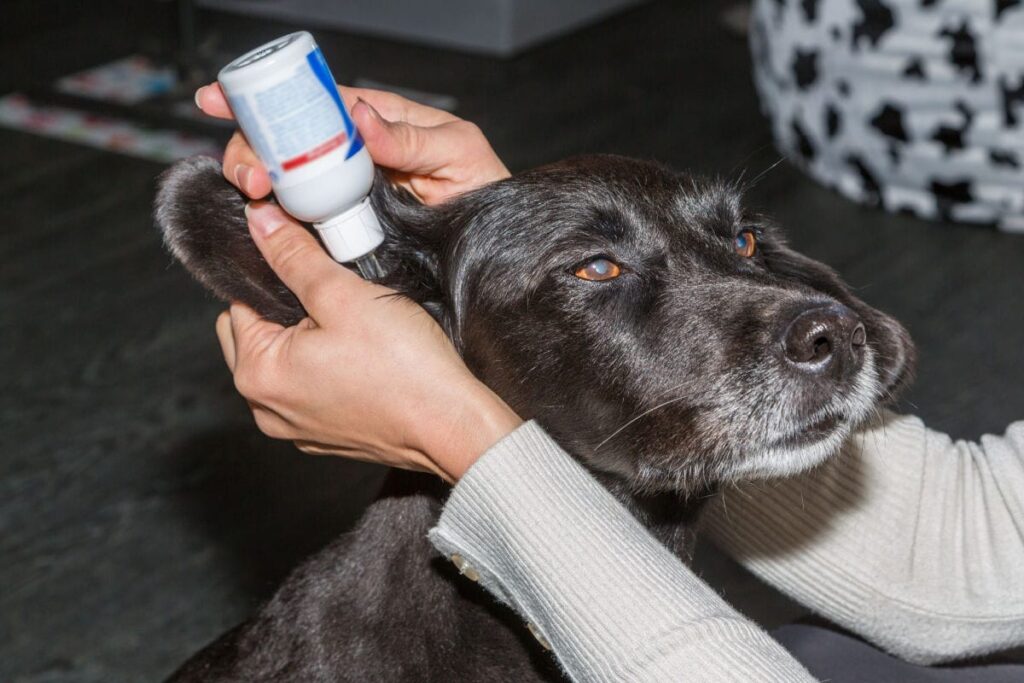
- While holding your dog’s ear flap in one hand, take the ear-cleaning solution in the other hand and squeeze it into his ear. You want to completely fill the ear canal, so don’t worry if some spills out.
IMPORTANT: Do not push the tip of the bottle into your dog’s ear, as this can damage his ear tissues. If the tip of the bottle comes into contact with your dog’s ear, wipe it off later with a cotton ball soaked in alcohol to prevent contamination by bacteria or yeast. - After filling the ear canal with ear cleanser, gently massage the base of the ear (the area right below the opening) for approximately 30 seconds. This will help the cleaning solution to break up any debris that’s present in the ear canal. If you’re doing this correctly, you should hear a squishing sound as the cleanser moves around the horizontal part of the ear canal.
- Continue holding the ear flap as you wipe away any debris from the inner part of the ear flap and the upper part of the ear canal with a cotton ball or gauze.
- At this point, your dog will likely want to shake his head, and you can allow him to do so. It will help remove any remaining ear cleanser or debris from the ear canal.
- After letting your dog shake his head, you can hold the ear flap up again and remove any more debris and cleaning solution with another cotton ball or piece of gauze. Remember, you should never use a cotton-tipped applicator for this purpose since it can damage inner ear structures. Just use a cotton ball and push your finger into the canal as far as it can reach. Don’t try to go further.
- This is a good time to praise your dog with some dog treats!
- Repeat the same process with the other ear.
- If at any time, your dog seems to be in pain during this process, it’s better to consult your veterinarian. You don’t want to continue cleaning the ear if it’s possible your dog has an ear infection or even some kind of foreign object in his ear.
What If Your Dog Does Have an Ear Infection?
If your dog does have an ear infection, your vet will likely prescribe some medication you will need to put in your dog’s ears. Your vet will let you know how many drops to put in and how often each day to do so.
Applying this medication is similar to the process of ear cleaning. Gently grasp the ear flap and pull it up to straighten the ear canal. Without putting the tip of the bottle into your dog’s ear, squeeze the number of drops your vet prescribed into your dog’s ear.
Again, if the tip of the bottle touches your dog’s ear, be sure to wipe it clean with an alcohol-soaked cotton ball after you’ve administered the medication. After administering the prescribed number of drops, gently massage the base of the ear for about 30 seconds. This ensures the medication will coat the entire ear canal.
If the inner part of the ear flap is also infected, you’ll want to place the prescribed amount of medication on that part as well. You can spread the medication around with a gloved finger. Repeat this process on the other ear if it is also infected.
If any debris or medication accumulates on the ear flap, you can just wipe that up with a cotton ball soaked in ear cleanser.
Summary of Important Points
A few points are worth reiterating, so you don’t cause any damage to your pup’s ears.
- There is no need to clean pink, odorless, healthy-appearing ears. Only clean ears that appear dirty.
- If your dog’s ears appear infected, take him to the vet. Cleaning infected ears does more harm than good.
- Never insert anything into your dog’s ear canal. Don’t insert a Q-tip or the tip of a bottle into your dog’s ears. These can damage sensitive inner ear structures.
- Only use veterinary-approved ear-cleaning solutions. Homemade cleaners and over-the-counter products like hydrogen peroxide can damage healthy tissue.
Final Thoughts
Nobody likes the gunk that accumulates in a dog’s ears. Regularly cleaning your dog’s ears can keep them free of debris and dirt, which can help prevent dog ear infections.
Following the steps above will help you feel more comfortable with cleaning your dog’s ears, but if you use a groomer regularly, you might also inquire if they can do this for you. Of course, your vet can also help.
In the end, you want to make sure your best friend is comfortable, and you can help with that by keeping his ears clean. If you make a fun and rewarding game, your dog may even look forward to it!